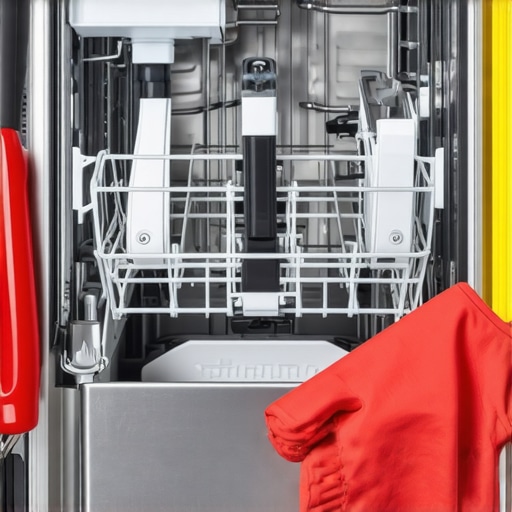
Ever had a quiet, shiny stainless steel dishwasher suddenly start to warp or melt parts of its rack? I remember the exact moment when I opened my dishwasher and saw a distorted, almost gooey section where my favorite Tupperware once sat. My heart sank. It was a lightbulb moment—realizing that not only was my dishwasher failing, but that I might have unknowingly been risking safety for convenience. Sound familiar? If you’re noticing strange m PC melting, or even warped racks, this isn’t just a minor inconvenience; it could be a safety hazard lurking right in your kitchen.
Understanding Why Your Dishwasher Rack Is Melting
Many of us rely on our dishwashers daily, and we often overlook the factors that could lead to serious damage or safety issues. A melting rack is a clear sign that something isn’t working right, and if ignored, it could cause dishwasher failure or even safety risks like chemical leaks or electrical issues. Today, I’ll share my personal insights and the solutions I found effective, so you don’t have to learn the hard way.
Are You Falling for Dangerous Myths?
Why Replacing Parts Might Save Your Kitchen
Early in my troubleshooting journey, I made a critical mistake. I assumed that replacing the whole dishwasher was the only fix, but I learned that many issues stem from simple rack malfunctions and improper maintenance. For example, using harsh detergents or overloading can weaken rack materials, especially in older models or cheaply made parts. Did I realize that optimally loading the rack could extend its lifespan? Not until I visited The Ultimate Guide to Selecting Dishwasher Racks. It’s safer — and more cost-effective — to understand what’s happening beneath the surface than to run blindly into replacements.
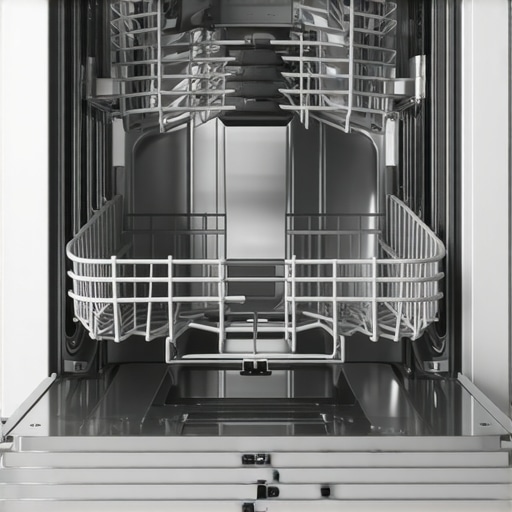
But why does this happen in the first place? Sometimes, the racks are made with inferior materials, or they get exposed to high heat over time, especially in energy-efficient models designed to save water but not always built to handle increased heat levels. Certain cleaning cycles or soap residues can accelerate wear, leading to warped, melted plastic parts. If your dishwasher is a 2026 model, chances are it’s packed with newer tech, but that doesn’t mean it’s immune to these issues.
If you’re wondering whether your problem is unique or common, I found out I wasn’t alone. Many homeowners face similar challenges—some even report that their racks are warped within just a year. The key is catching these problems early and knowing which fixes are worth trying myself, rather than immediately replacing the entire unit.
Ready to learn how to safeguard your dishwasher’s racks, prevent melting, and ensure safety? Let’s dive into the practical solutions, starting with some simple preventative tips that I swear by.
Inspect and Adjust Your Loading Technique
Start by examining how you load your dishwasher, ensuring that items aren’t blocking spray arms or pressing against the racks. I once overloaded my rack with heavy pots, causing stress on the plastic components, which I later learned could lead to warping. To avoid this, load dishes according to manufacturer recommendations, placing larger items on the bottom and lighter ones on top. Use the loading tips to optimize space and reduce strain on racks.
Clean Spray Arms Regularly
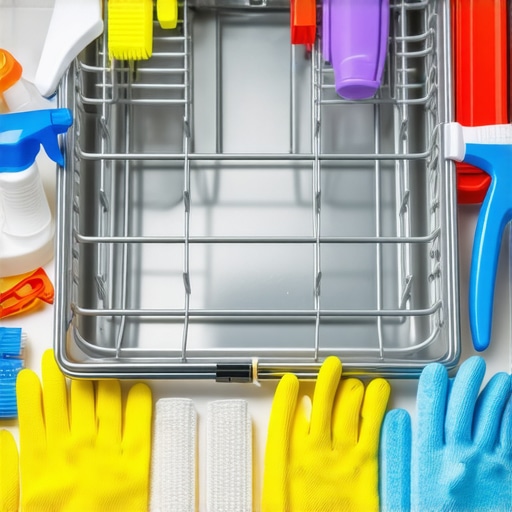
Clogged spray arms can create uneven water distribution, leading to hotspots that may cause plastic parts to warp. Remove spray arms periodically (about once a month), rinse out debris, and clear any blocked holes with a pin or brush. During my own maintenance, I gently disassembled the spray arms and found accumulated mineral deposits, which I cleared. This simple step improved water flow and reduced heating issues that contribute to rack melting.
Use Compatible Detergents and Rinse Aid
Harsh detergents or incompatible rinse aids can accelerate rack deterioration, especially in stainless steel dishes that retain residues. I switched to gentle, phosphate-free detergents recommended for energy-efficient models, which I learned from the stainless dishwasher benefits guide. Proper detergents reduce chemical buildup that can weaken plastic parts over time. Also, consider using rinse aids to promote thorough rinsing and minimize residue that could cause plastic degradation.
Maintain Proper Temperature Settings
High heat cycles are often responsible for plastic parts warping or melting. I used my dishwasher’s control panel to select a delicate or eco-friendly cycle, which runs at lower temperatures. This adjustment not only extends rack lifespan but also conserves energy. Learn more about optimal cycle settings at Energy Star tips. Keep an eye on manufacturer specifications regarding maximum temperature tolerances for your racks.
Inspect and Replace Worn Parts Promptly
If you notice any cracks, warping, or melting on racks, don’t delay fixing them. Small clips or rollers can be replaced easily—saving you money and avoiding further damage. In my experience, ordering OEM replacement parts from the manufacturer’s site or trusted suppliers ensures compatibility. Regularly inspecting your racks, especially after heavy use or energy-saving cycles, helps catch issues early before they escalate. I found that routine visual checks saved me from costly full replacements and potential safety hazards.
Protect Your Racks From Heat Damage
When possible, avoid high-temperature drying cycles or using heat-drying options that can contribute to plastic deformation. Instead, let dishes air-dry or select lower-temperature drying modes. I personally disable the heated dry option on my model, extending rack life and maintaining cleanliness without risking melting. Discover more about quiet, energy-efficient drying methods at quiet dishwasher innovations. This strategic approach minimizes heat exposure specifically around your plastic racks.
Regularly Schedule Deep Cleanings
Mineral deposits and soap scum buildup can trap heat and cause localized hotspots. Perform deep cleanings every few months using a descaling agent or vinegar rinse to remove deposits. I did this by running a vinegar and baking soda cycle, which visibly improved water flow and reduced residue that could insulate heat. Adopting this routine helps maintain proper water temperature and flow, directly impacting rack durability.
Monitor Energy Settings and Usage Patterns
Energy-efficient settings often involve longer, lower-temperature cycles that are gentler on components but require adjustment based on your typical load. By customizing these settings, you can balance cleaning performance with rack preservation. Keeping informed about your dishwasher’s energy modes, through resources like Energy Star insights, allows you to select optimal cycles that prevent overheating and melting.
Many homeowners assume that choosing a quiet dishwasher automatically means better performance or energy efficiency. However, in my experience, this isn’t always the case. For instance, some ultra-quiet models attain their low noise levels by running longer or at lower temperatures, which can ironically increase overall energy consumption if not managed properly. This contradicts the popular belief that quieter means more efficient. Additionally, the myth that all stainless steel dishwashers are inherently quieter persists, but whisper-quiet variants exist across various finishes, depending heavily on build quality and installation.
A frequent trap I see is relying solely on decibel ratings to select a dishwasher. While dB levels are a useful indicator, they don’t tell the whole story about a machine’s performance or energy use. For instance, a dishwasher rated at 38dB may produce exceptional cleaning with minimal noise, but if it has a long cycle duration or uses more water—factors often associated with energy star certification—it might not save as much on utility bills as expected. Experts from the stainless dishwasher benefits guide suggest evaluating cycle times and water usage alongside noise levels for a comprehensive assessment.
An often overlooked nuance is how energy star ratings are determined. The program emphasizes water and energy savings but doesn’t necessarily account for cycle duration or wash performance. As explained in a study by industry analysts, some models achieve high efficiency ratings by extending cycle times, which may lead users to run their dishwashers more often, offsetting some savings. Therefore, I advise evaluating specific cycle options and their durations in tandem with energy star labels. This helps avoid falling into the trap of equating low noise and high ratings with overall efficiency.
Furthermore, installation plays a crucial role in a dishwasher’s noise output. Improper leveling or unsecured cabinetry can amplify vibrations, making a seemingly quiet model suddenly loud. Ensuring your appliance is correctly installed can optimize its noise levels—sometimes more so than choosing a pricier, supposedly quieter model. To explore this further, see innovations in quiet dishwasher technology.
Lastly, be aware of the advanced features some premium models offer, such as variable cycle speeds or sound dampening insulation, which can provide more effective noise reduction without compromising cleaning performance. These enhancements are often misinterpreted as unnecessary luxury; in fact, they can significantly improve daily user experience—especially in open-concept kitchens where noise can be disruptive.
Make sure to look beyond the headlines of decibel ratings and energy star badges. Consider the full spectrum of performance metrics and installation practices. Have you ever fallen into this trap of oversimplifying what makes a dishwasher
Maintaining your dishwasher, especially models that are designed to be quiet and energy-efficient, requires specific tools and methods to ensure long-term performance. One essential tool I rely on is a high-quality ultrasonic cleaner for cleaning spray arms and filters. I use mine regularly, about every three months, to remove mineral deposits and residue buildup, which directly impact water flow and heat distribution. This device effectively reaches into tiny crevices, restoring optimal spray patterns and preventing hotspots that can cause plastic racks to warp or melt. My professional tip is to pair this with a descaling solution, like white vinegar or commercial descaler, to keep internal components free of mineral buildup and maintain energy efficiency. Over time, this routine helps sustain low noise levels and prevents common malfunctions, ensuring the dishwasher continues to operate quietly and efficiently. Looking ahead, I predict that smart diagnostics embedded in future dishwashers will enable proactive maintenance alerts, so homeowners can address issues before they become costly. To keep your dishwasher in peak shape, I recommend investing in a quality ultrasonic cleaner and adhering to a regular cleaning schedule. Curious about how to integrate these tools into your routine? Try using an ultrasonic cleaner this weekend, and notice the difference in how your dishwasher performs and sounds over time.
From my experience, the biggest breakthrough came when I realized that many of the issues with melted dishwasher racks stem from simple, preventable mistakes. For instance, I learned that overloading the dishwasher or using incompatible detergents doesn’t just slow down my cleaning but can actually accelerate rack deterioration. This was a lightbulb moment that shifted my maintenance approach from reactive to proactive, saving me money and frustration in the long run.
Another critical lesson was understanding the importance of selecting the right cycle settings. I used to blindly trust the manufacturer’s default programs, but I discovered that lower temperature and eco-friendly options are gentler on plastic parts, significantly extending their lifespan. This insight made me rethink how I use my dishwasher daily, turning routine maintenance into an opportunity for preservation.
Most surprisingly, I found that proper installation is a game-changer. Ensuring my dishwasher was perfectly level and securely fitted minimized vibrations and undue stress on the racks, ultimately preventing warping and melting. It’s remarkable how a simple adjustment can make such a profound difference—proof that attention to detail often yields the best results.
These lessons taught me that safeguarding your dishwasher racks isn’t about costly replacements but about informed care and small adjustments. By sharing my insights, I hope you can avoid the pitfalls I faced and keep your appliances safe, efficient, and long-lasting.
My Tools for Keeping Dishwashers in Top Shape
For routine maintenance, I rely heavily on a high-quality ultrasonic cleaner to keep spray arms and filters free of minerals and debris. This device has become indispensable in preventing hotspots and ensuring even water distribution, which directly impacts the longevity of racks. I also swear by descaling solutions like vinegar and commercial descalers to remove mineral buildup—simple yet effective methods that have saved me from costly repairs.
If you’re serious about maintaining your dishwasher, investing in these tools has been a game-changer. They help me catch issues early and keep my appliances running quietly and efficiently. For a deeper dive into maintenance techniques, I recommend exploring resources that cover routine cleaning and inspection routines—trust me, a little effort goes a long way in avoiding disaster.
Your Next Step Toward Seamless Dishwashing
Now is the perfect time to start applying these tips. Keep an eye on your racks for signs of wear, adjust your loading habits, and invest in the right maintenance tools. Remember, a well-cared-for dishwasher performs better, lasts longer, and keeps your kitchen safer. Don’t wait for a meltdown—take action today and enjoy the peace of mind that comes with mastering your appliance’s care.
Have you ever struggled with identifying the real cause behind dishwasher rack issues? Share your experiences below—let’s learn from each other and build a community of savvy homeowners!
![Why Your Dishwasher Rack Is Killing Your Cleaning Power [2026]](https://dishwashers.smartappliancereview.com/wp-content/uploads/2026/01/Why-Your-Dishwasher-Rack-Is-Killing-Your-Cleaning-Power-2026.jpeg)
This post really opened my eyes about how much maintenance can actually prolong the life of our dishwasher racks. I used to think replacing parts was the only solution to keep everything working well, but clearly, proper loading and regular cleaning can prevent many issues, including melting racks from heat stress. I’ve noticed some strange warping in my dishwasher rack recently, and now I wonder if I’ve been overloading too often or using the wrong detergent. I especially appreciate the tip about scheduling routine deep cleanings—running vinegar periodically has been on my to-do list, but I didn’t realize how important it is for preventing hotspots and mineral buildup.
It makes me curious, though: how often do others here inspect or replace parts like clips or rollers? Do you have favorite brands for OEM replacement parts that fit well and last longer? Sharing these experiences could really help those of us trying to maintain our dishwashers effectively without jumping straight to costly replacements. I’d love to hear about personal success stories or additional tips to prevent racks from warping or melting altogether.